Re-caulk Your Bathroom Like a Pro
 Keeping your bathroom in top shape is crucial for its appearance and function. Old caulk can crack, peel, and harbor mold, leading to potential water damage. Here’s a step-by-step guide to re-caulking your bathroom for a fresh and secure seal.
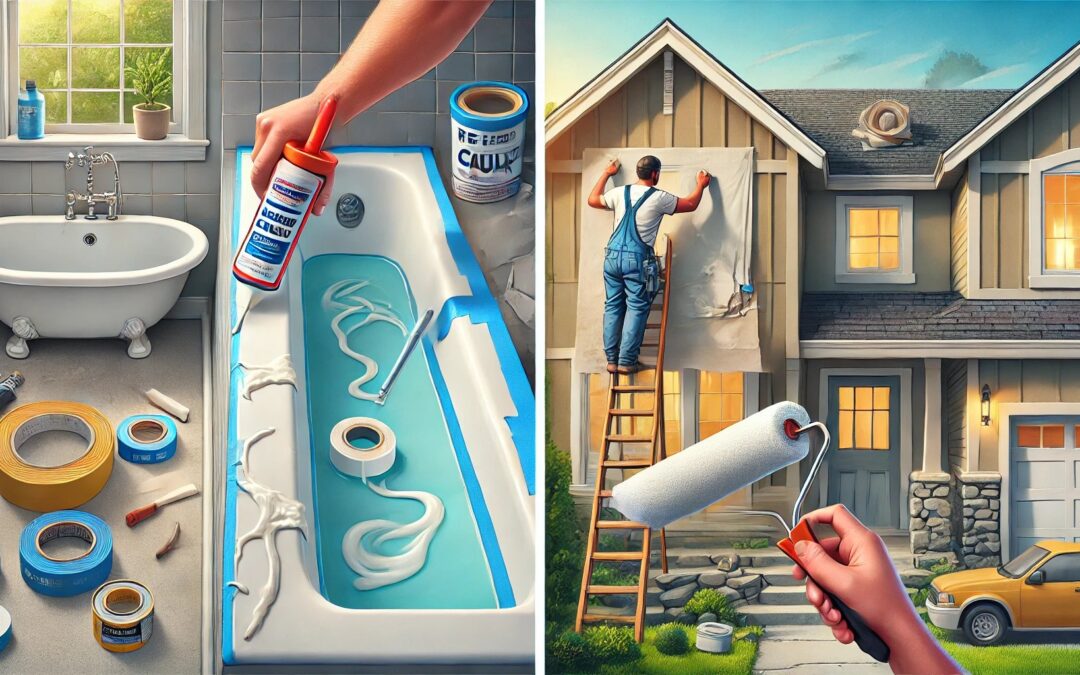
- Remove the Old Caulk: Start by carefully cutting and peeling away the old caulk using a caulk removal tool or a utility knife. Clean the area thoroughly with a mold-killing solution or bleach and water mixture to eliminate mold and residue. Let the area dry completely to ensure the new caulk adheres properly.
- Prep with Painter’s Tape: Apply painter’s tape along the edges where you’ll be caulking. This helps create straight, clean lines and keeps the caulk from spreading onto unwanted areas.
- Apply the New Caulk: Use silicone-based caulk for its durability and resistance to mold. Cut the caulk tube’s tip at a 45-degree angle. With a caulking gun, smoothly and evenly apply the caulk along the seams. Use a caulking tool or a soapy finger to smooth it, and press the caulk into the joint.
- Remove the Tape: Carefully remove the painter’s tape before the caulk starts to dry to maintain those crisp, clean lines.
- Let It Cure: Follow the manufacturer’s drying instructions. Typically, you’ll need to let the caulk cure for about 24 hours before the shower or bath.
Enhance Your Home’s Curb Appeal with a Fresh Coat of Paint
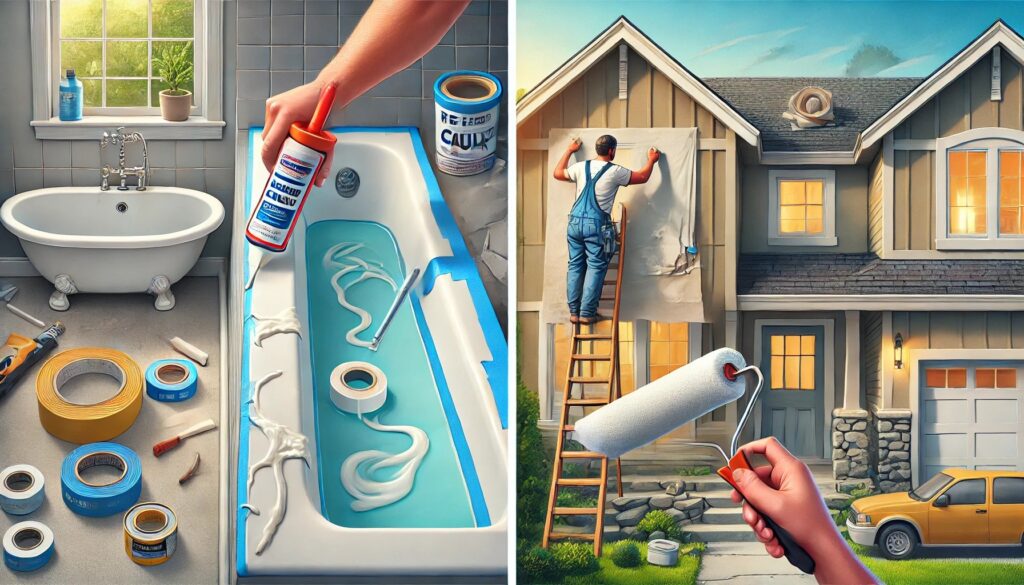
A fresh exterior paint job not only makes your home look great but also protects it from the elements. Whether you’re a DIY enthusiast or prefer to hire a professional, here are some tips to get the job done right.
DIY Painting Tips
- Inspection and Cleaning: Check for cracks, rot, or mold and address these issues before painting. Power wash the surfaces to remove dirt and old paint, ensuring a smooth base for the new paint.
- Selecting Paint: Choose high-quality exterior paint suited to your climate. A satin finish is a good choice for hiding imperfections and is easy to clean.
- Application Technique: Apply a primer if changing colors drastically or painting over bare wood. Paint from top to bottom with controlled, overlapping strokes to avoid streaks.
Hiring a Professional
- Research and Reviews: Choose vendors with excellent reputations and positive reviews.
- Detailed Estimates: Obtain quotes from at least three contractors, including costs for materials, labor, and the number of coats.
- Verify Credentials: Ensure your contractor is licensed and insured to protect against any mishaps.
With these tips, you can ensure a professional finish, whether tackling the project yourself or hiring an expert.